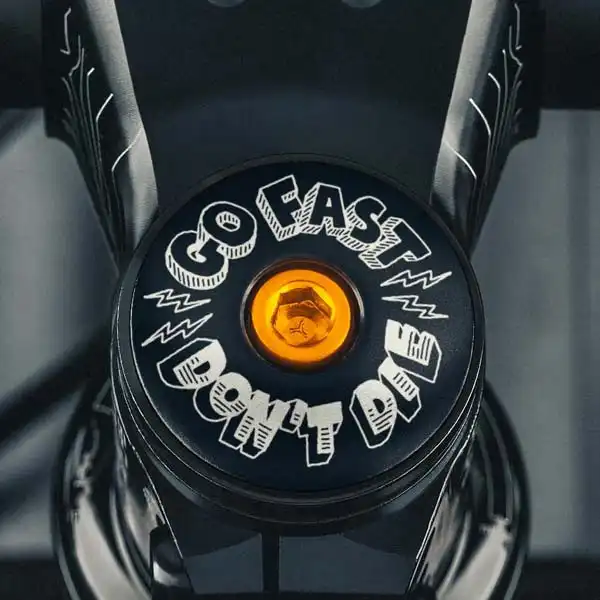
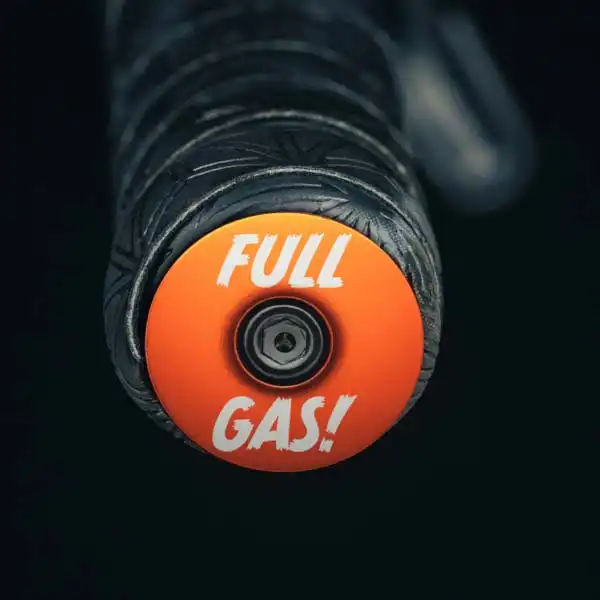
Custom bicycle parts bicycle handlebar bar end plugs in purple

How Do I Install Bicycle Handlebar Bar End Plugs?

Installing Bicycle Handlebar Bar End Plugs

Replacing your stock bicycle handlebar bar end plugs with a custom set of high quality aluminum plugs is a great way to customize your bicycle and make it uniquely yours with a little personality and style of your own.

It’s simple, fast and easy to replace your cheap factory bar end plugs and in this post we’ll walk through how to do exactly that.  As we say here, our custom bicycle handlebar bar end plugs come standard with cuss-free installation. 

Let’s get started so you can get out there and ride your ride!

Table of Contents:

What are bicycle bar end plugs?

Before we jump right in, let’s define what we’re discussing in this article.  Bicycle bar end plugs are small pieces of plastic or aluminum designed to fill the holes found at the end of handlebars.  If you’ve not replaced your factory plugs, you’ll likely find there is a plastic piece wedged into either end of your handle bar from the factory.  These are cheap pieces of plastic designed to satisfy liability requirements to keep you safe as a rider and, secondarily, to finish off the handlebars with a closed cap on the end of the bars to keep dirt and water from entering the cockpit.

In reality, most bicycle manufacturers pay little attention to this part.  As a consequence the pieces inserted into your bicycle you paid hard-earned dollars for are cheap and aesthetically not that great.

Our customers love to replace these cheap pieces with meaningful bar end plugs to complete the “put together” look of their bicycle and to customize it with something better than their plastic push-in plugs.

What do bicycle bar end plugs do?

This of course leads to the question: What exactly are bicycle bar end plugs supposed to do?  Primarily, if you’ve ever thought about an open end of a bicycle handlebar and meeting the business end of it at speed on a ride, you’ll start to get the picture.  Unfortunately, most factories only do the bare minimum to satisfy product safety requirements and shove a piece of cheap plastic into the handlebar end.  One small crash and they are usually toast.

By replacing your bar end plugs with high quality aluminum bar ends, you not only increase the protection to your bicycle’s cockpit, but also the durability of them from an unfortunate crash or just the usual tumbling that happens to a bicycle in the normal course of use.  Lean your cheap bar end plugs up against a wall, rub them against the bed of your pickup truck or just leave them in the sun and you’ll usually start to see them wear down pretty quickly. 

At Dispatch, we give you a high quality bar end plug that’s customized with your artwork or unique message AND give you greater protection over plastic push-in plugs.  We like to think it’s a two-for-one.  Look good, protect the bicycle cockpit.  Win, win!

How hard is it to install bicycle bar end plugs? 

We like to say our custom bicycle bar end plugs feature cuss-free installation standard.  It’s really a simple job.  Some would say tying your shoes is far more time consuming and complicated.

It really is a simple task and you shouldn’t have any concern about replacing your factory handlebar bar end plugs with our custom bar end plugs.

What size bar end plugs fit my bicycle handlebars?

You’ll primarily see two types of custom bicycle bar end plugs: 25mm and 32mm.

25mm bar end plugs typically will be found in road, triathlon and gravel handlebars that have “drops” and are narrower in outside diameter. 

32mm bar end plugs are largely found on mountain bike handlebars with larger outside diameters.

What you don’t want is a bar end plug that’s either too small and exposes the edge of your handlebars outside diameter (such that the bar end is no longer properly protected), or a bar end that is too large and protrudes above the handlebar ends.

To be certain, just take a look at your handlebar ends.  Do they appear to be closer to the size of a quarter at the ends or a half dollar coin?  Quarters, are 24.26mm and a half dollar coin is 30.61mm.  That should give you an idea.  In all cases, it’s alway a safe assumption that drop bar handlebars are 25mm and mountain or flat handlebars are 32mm bar end plugs.

If you still don’t know, just shoot us a picture.  We’ll help the best we can.

How can I customize my bicycle bar end plugs?

At Dispatch Custom Cycling Components we’re all about Ride Your Ride.  We believe a bicycle that you have customized is a bicycle that’s more meaningful to you.  A bicycle that’s more meaningful to you, is a bicycle that you’re more likely to ride more often.  That means we get to accomplish our mission of getting more people on more bicycles more often.

We allow you to add custom text, artwork and even design your own bicycle handlebar bar end plugs with our laser engraving process. This is a permanent engraving on any one of our many different anodized aluminum color caps.  It will last you for many years to come.  You might even want to have a second set of bar end plugs to get yourself in party mode or race mode. Depending on how you’re feeling .

We can’t wait to see what you engrave on your handlebar end plugs.  We’ll be right here in Colorado waiting to get to work for you and ship them out In 72 hours or less.

What tools do I need to install bicycle bar end plugs?

So what tools do you need?  It’s actually pretty straightforward.

To install your custom bicycle handlebar end plugs, you’ll need the following tools:

  • Flat Head Screwdriver
  • Shop Towel or Rag
  • 5MM Hex Key or Allen Wrench
  • Optional: Needle Nose Pliers
  • 5 Minutes of Time

How do I install my bicycle handlebar bar end plugs?

Now that you have your custom bar end plugs, let’s get to installing them.

First, you’ll need to remove the existing bar end plugs.  You’ll want to grab your flat head screwdriver and your shop towel.  Wrap the shop towel around your handlebar end and place the flat head screwdriver between the end of the handlebar and the wedged in plug.  Unseat the existing plug by slowly prying it on one end and then working the opposite end.  It should only take one or two prying maneuvers to loosen the existing plug.  If you have a set of needle nose pliers handy, you can use them to pinch the plug and pull it out.  

Drop Bar Note: Take care to not pull off your handlebar tape, if you’re working on a set of wrapped handlebars.  There will almost always be a starter of the handlebar tape inside your handlebar ends once exposed.  Leave this in place as this secures the tape on the handlebars.  Our replacement bar end plugs will seat this tape back in place. 

Repeat this process on the opposite side of the handlebar.

Once you’ve safely removed your existing bar end plugs, you will assemble your new bar end plugs as follows. 

In front of you, you should have:

  • 2 custom aluminum bar ends
  • 2 bolts
  • 2 rubber expansion plugs
  • 2 nuts

Create the following stack 2x with the parts above:

From top to bottom

  • Bar end
  • Bolt
  • Rubber Expansion Plug
  • Nut

To do this, take your bar end, place the bolt through the outside of the plug to reveal it on the backside/inside of the bar end.  Place this on a table with the bar end facing down.  Stack on top of the bolt, your rubber expansion plug.  Now take one nut and loosely thread it to the end of the bolt.

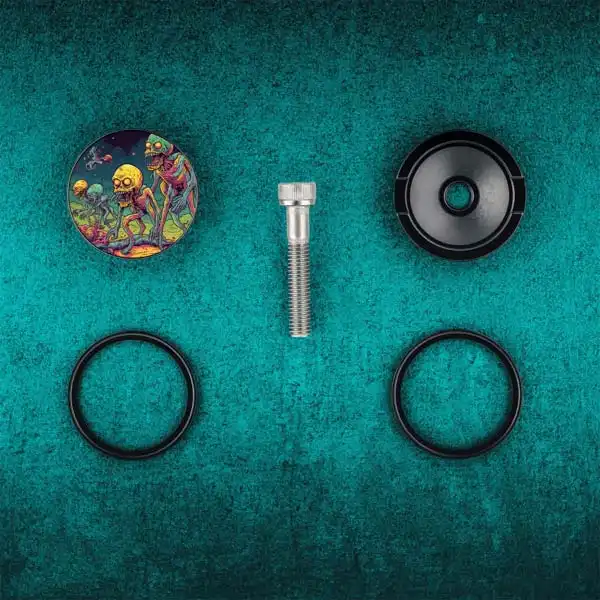
Your finished pre-assembly should look like the image below.

Custom bicycle handlebar bar end plugs

Repeat for the second bar end plug.

You now should have 2 bicycle bar end plugs preassembled and ready for insertion into your bicycle’s exposed handlebar ends.

Carefully take this assembly over to your bicycle handlebar and insert the entire assembly into the open end of your handlebar.  It may be loose as you insert it.  I may also have some friction.  A little friction is good as this will assist in the next step.

Insert the plug assembly until it’s flush with the end of your handlebar.  With your 5mm Hex or Allen wrench, slowly turn the bolt to expand the rubber plug.  The bolt will pull the nut towards the rubber expansion plug and bar end, causing the rubber plug to expand into position.

Tighten your bar end plugs until they are firmly in place.  Typically a quarter turn past the point of resistance is sufficient.  You’re looking for a plug to be in place and unable to be easily removed without relieving tension on the plug.  As we say, just tight enough, is. 

Repeat this process on the opposite bar end.

That’s it!  Congratulations on making your bicycle truly one of a kind.

Still stuck?  Shoot us a message.  We’ll jump on a video call and get you through this.  It’s really simple.


Back to blog