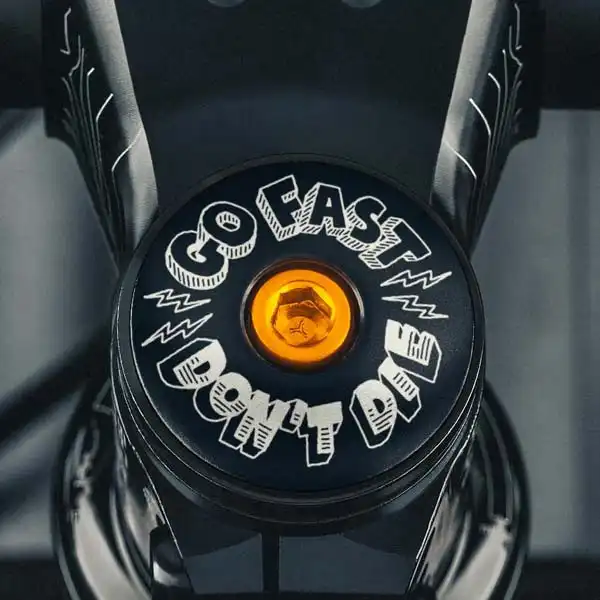
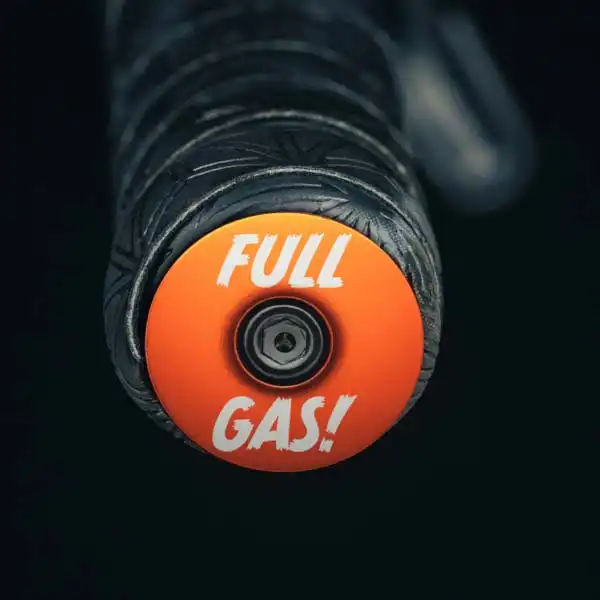

Why Bicycle Headset Caps
Why bicycle headset caps? It’s a question we get often. On the surface, it seems like a great question. And it is. So here’s why we chose to customize bicycle headset caps as our first product: It’s right in front of you your entire ride.
Literally nothing else you can look at on your bicycle while riding it is as in your face and persistent as your headset cap. Looking at the handlebars? You’re going to see your headset cap. Checking your cyclometer’s data? You’re going to see your headset cap. Just hanging your head as you grind out a climb? You’re going to see your headset cap.
It’s the perfect place for a little message. Funny or serious. Graphic or text. We hear from customers all the time that the simplest little something on their headset cap makes them smile, forget about the pain, or dig in further and ride through the pain.
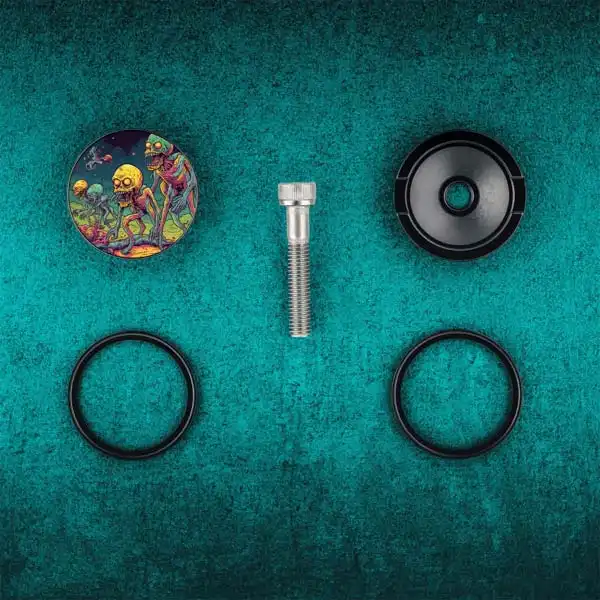
We started with a simple company logo. Then we went for a ride on our bicycles and came back with about 50 different ideas. That was after one ride.
A couple more rides and the ideas are flowing like riding miles down an 18 percent grade.
We made custom headset caps for races, events, bike shops, and of course all of our own custom artwork. We partnered with some top artists and made more.
Every day we get on our bicycles. And every ride the first thing we see when we get on the bike is a wonderful custom headset cap fresh out of the oven atop our stem.
It’s a simple and affordable way to make your bicycle yours. The way we see it, there are hundreds of the same bicycles coming off the factory lines. And that’s OK. But for less than $20, you can add a little flair to your ride and make that one of a thousand, one of one. Yours. Unique. Like you.
Ride on!
